
I found this shelf and it inspired me. We've got plenty of lumber just sitting around in the garage and I'd just bought some metallic paint for another project, so all I needed was some leather strips. Fortunately, Hobby Lobby sells 42 inch strips for like $5.

(Sidenote: make sure to pick a board your husband has no problem parting with. I found a board of the dimensions I was looking for and it was pretty beat up, so I assumed he wouldn't mind if I used it. Apparently, it was a good piece of wood and he was kind of pissed. Thankfully, the shelf turned out amazing so he got over it.)
Start by prepping your board. Depending on the quality and dimensions of your board, you may need to cut it down or sand it. I liked mine a bit rustic and I'm a bit lazy so I left my wood untouched (that's what she said).
When determining the dimensions and design of your shelf, you'll probably need one of the following formulas. In these formulas, the width of the board is w, the overall length of your leather strip is L, and the length of the strip past the mounting hole is p. (Sidenote: these equations are just for one side of the leather support, not both. Also, this is for a shelf with a leather support at 45 degrees.)
If you have limited leather and you can alter the width of the board, the width of the board is determined by:


Once your wood is ready, paint the thin edge. Since Tucson is copper country, it holds a special place in my heart. I didn't tape anything off. I just used a foam brush and went over the edge three times. Using the Martha Stewart paint, it took three coats to really be opaque. I propped the wood up with rolls of painters tape to keep it from sticking to the newspaper.

Because this shelf is so simple, the most complicated part of these instructions is how to punch the holes in the leather for your mounting screws. Other tutorials I read recommended using a drill with a small drill bit. If you have leather working tools or a belt hole punch, you could use that. Or, the method I would recommend, have a husband with some muscle power and have him nail the leather to a piece of scrap wood.
Then, all you need to do is install your dry wall mounts, screw your pieces of leather to the wall, shimmy your piece of wood into them, and straighten it out. (Sidenote: since there may have been contact with the painted edge and the freshly painted wall, I gave it a good two days to dry so there wouldn't be any transfer.)

At some point, I will take a tiny brush and paint the screws copper to match.

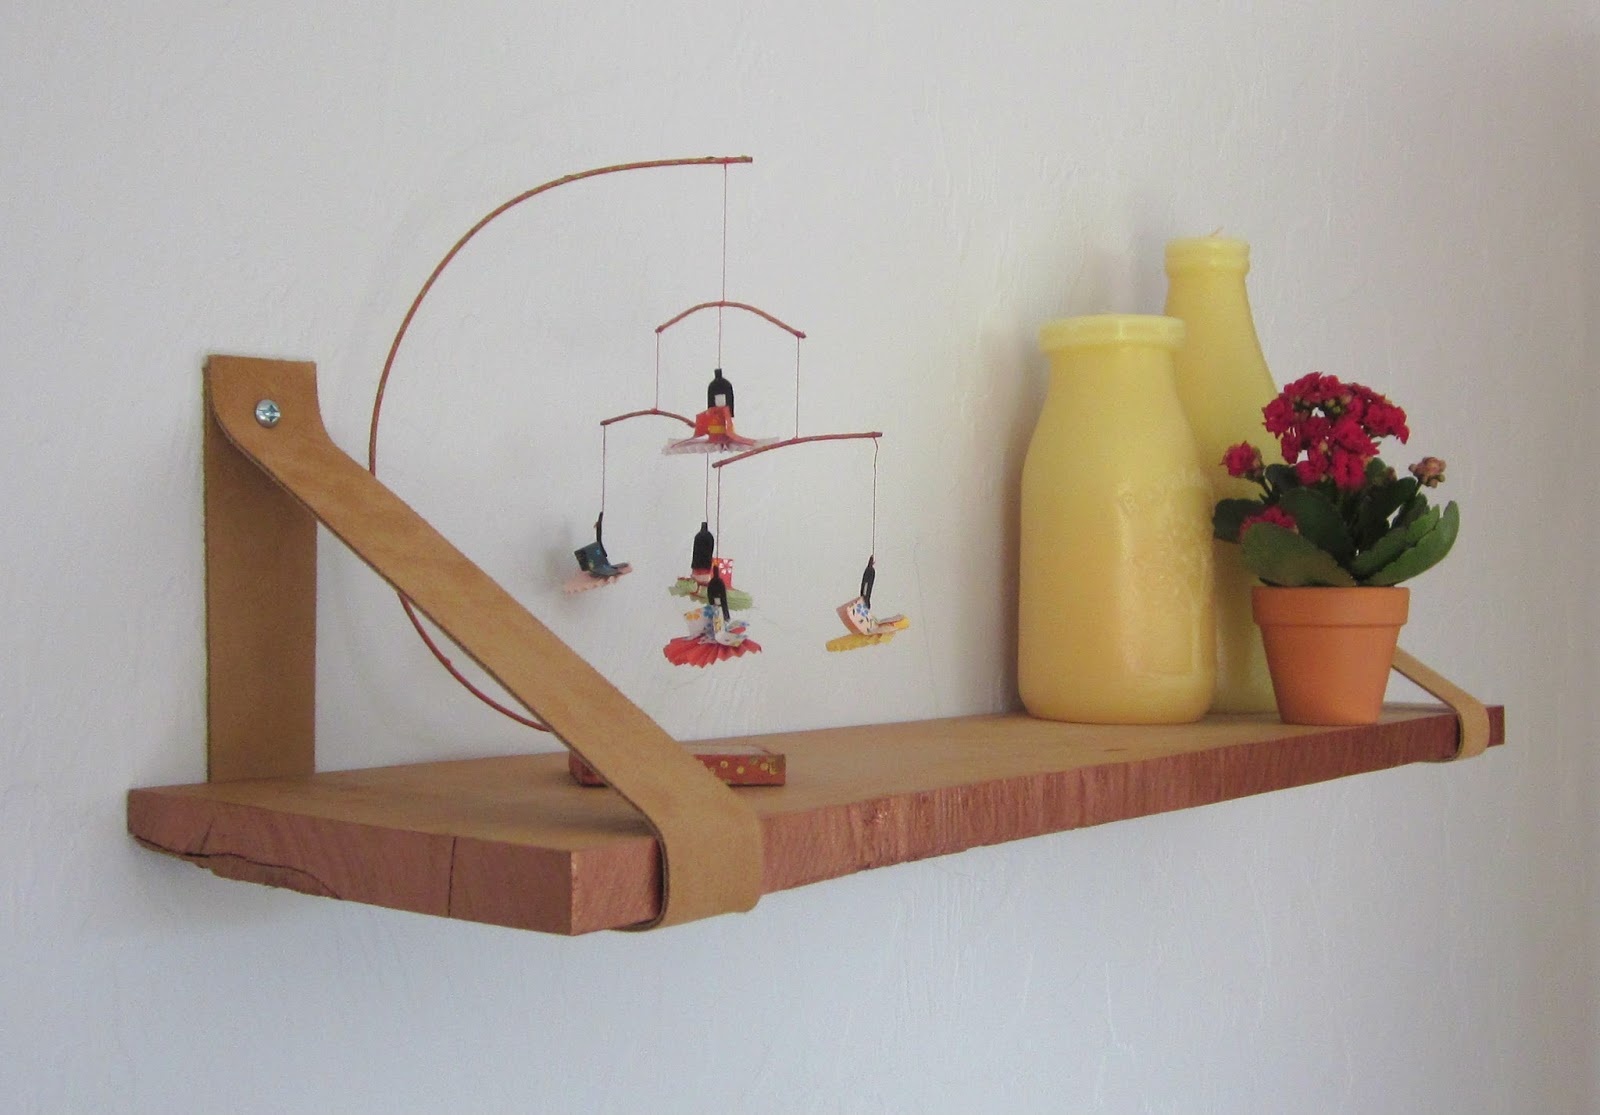
Lastly, style it up with everything you want. For me, it's everything little that I'm trying to keep away from my cats. Like my Japanese mobile that I just finished repairing from the last time I accidentally left it out and they ripped off one girls head, my tiny little plant, and some yummy smelling candles.
I wish I could tell you how much this shelf will support, but it will be a function of the dry wall anchors you use. However, I wouldn't recommend putting over ten pounds total on it.
I'm so proud of this little shelf. This is the first thing I've DIYed that doesn't really look DIY. You know what I mean, sometimes DIY stuff just has that look. This shelf is just so cute and I can't believe I did this all myself.
No comments:
Post a Comment